Are you noticing water pooling around your RV water heater fittings? Leaks here can cause more than just a mess—they might lead to costly damage and interrupt your travel plans.
Understanding why your RV water heater fittings are leaking and how to fix them can save you time, money, and stress. Keep reading to discover simple steps you can take to stop those leaks and keep your RV’s water heater running smoothly.
Common Causes Of Leaks
Leaks in RV water heater fittings cause water damage and waste. Knowing common causes helps fix problems fast. Small issues often lead to bigger leaks later. Regular checks keep your water heater safe and dry.
Loose Connections
Loose connections let water escape from fittings. Vibration from driving can loosen nuts and bolts. Tighten all fittings carefully but avoid overtightening. Check connections often to prevent leaks.
Worn Out Washers
Washers stop water from leaking at joints. Over time, washers wear out or crack. Old washers lose their shape and sealing power. Replace washers regularly for a tight, leak-free fit.
Cracked Fittings
Fittings can crack due to heat or stress. Small cracks cause slow leaks that worsen quickly. Inspect fittings for any visible damage. Replace cracked parts immediately to avoid water damage.
Corrosion Issues
Corrosion weakens metal fittings and causes holes. Water and air create rust on exposed parts. Corroded fittings lose strength and leak easily. Use corrosion-resistant materials and check for rust often.
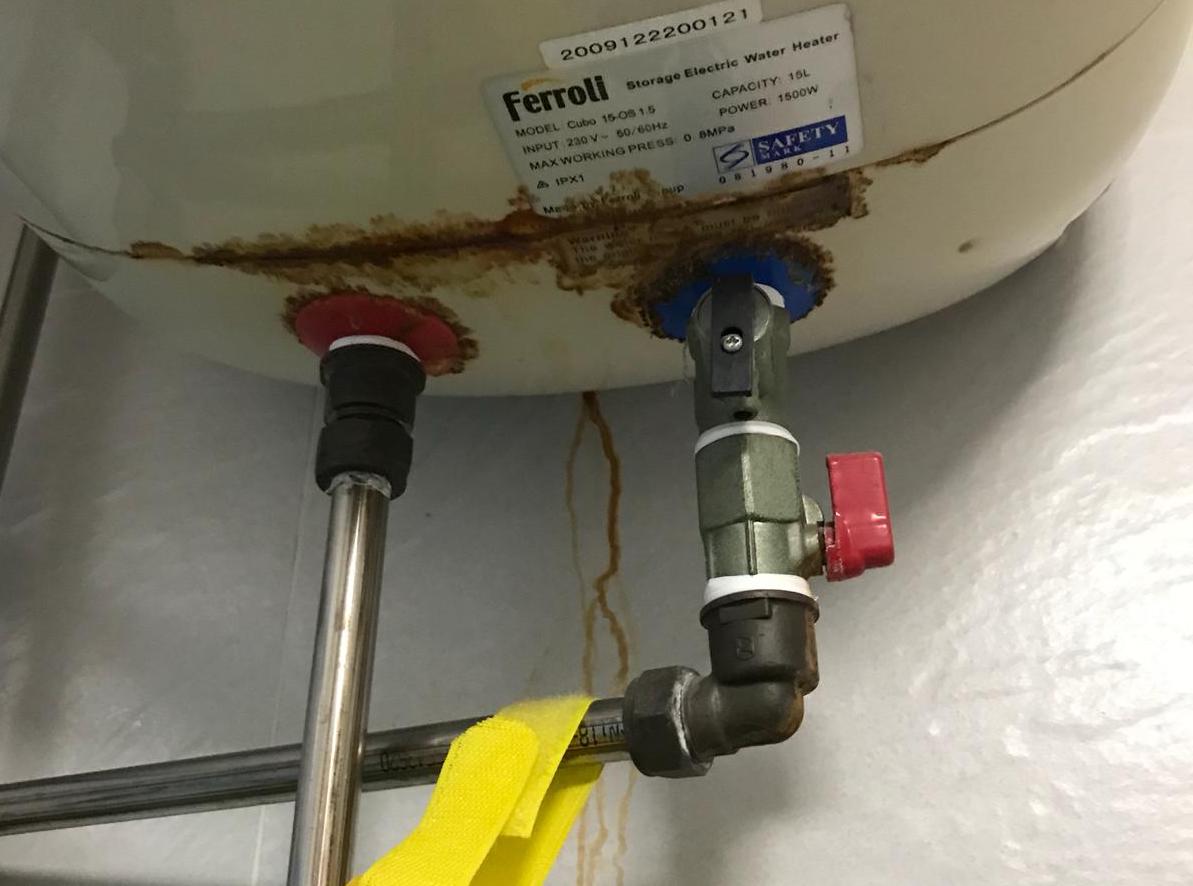
Credit: diegosdemise.co.uk
Tools And Materials Needed
Fixing leaking RV water heater fittings requires the right tools and materials. Having these ready saves time and ensures a smooth repair. Gather everything before starting to avoid interruptions.
Basic Repair Kit
A basic repair kit includes essential hand tools. You need wrenches, pliers, and screwdrivers. These help loosen and tighten fittings. Keep a small flashlight nearby for better visibility. A bucket or towel is useful to catch any leaking water.
Sealants And Tapes
Sealants stop water from leaking through small gaps. Use plumber’s tape or Teflon tape on threaded connections. It creates a tight, water-resistant seal. Pipe joint compound can also be helpful. Choose products safe for potable water systems.
Replacement Parts
Old or damaged parts cause leaks. Keep extra fittings, washers, and O-rings on hand. Check the size and type of your RV water heater fittings. Buy replacements that match exactly. This avoids fitting problems and further leaks.
Step-by-step Repair Guide
Fixing leaking water heater fittings in an RV is easier than it seems. Follow this step-by-step guide to solve the problem safely and quickly. Each step helps you find and fix leaks without hassle.
Shutting Off Water Supply
First, turn off the water supply to the heater. This stops water flow and prevents spills. Locate the main water valve near the heater and close it fully. Check taps to confirm no water runs.
Draining The Heater
Next, drain the water heater to avoid mess. Open the drain valve at the bottom of the heater. Use a bucket or hose to catch the water. Let it drain completely before moving on.
Inspecting And Tightening Fittings
Look closely at all fittings around the heater. Use a wrench to tighten any loose nuts or bolts. Tight fittings stop small leaks from growing. Avoid overtightening, which can cause damage.
Replacing Damaged Components
Check each fitting for cracks or wear. Replace any damaged parts with new ones. Use parts designed for your RV water heater model. This ensures a proper fit and long-lasting repair.
Applying Sealant Properly
Apply a waterproof sealant to threaded fittings. Wrap plumber’s tape around threads before sealing. This blocks leaks and strengthens the connection. Allow the sealant to dry as per instructions before testing.
Preventive Maintenance Tips
Preventive maintenance is key to avoiding leaks in RV water heater fittings. Small steps can save big repairs. Regular checks and care keep your system strong. Follow simple tips to protect your water heater fittings and enjoy worry-free travels.
Regular Inspection Schedule
Check your water heater fittings at least once a month. Look for signs of wear, cracks, or moisture. Early detection prevents leaks and bigger damage. Keep a checklist to track your inspections easily.
Avoiding Over-tightening
Do not tighten fittings too much. Over-tightening can crack the fittings or damage threads. Hand-tighten fittings firmly, then use a wrench for a small turn. This keeps connections secure without causing harm.
Using Quality Parts
Use parts made for RV water heaters only. Cheap or wrong parts cause leaks and fail faster. Choose fittings with good reviews and proper ratings. Quality parts fit better and last longer.
Protecting Against Corrosion
Apply anti-corrosion spray or grease on metal fittings. Corrosion weakens joints and leads to leaks. Keep fittings dry and clean to slow rust. Replace rusty parts before they cause problems.
When To Call A Professional
Knowing when to call a professional for RV water heater fittings leaking saves time and prevents damage. Some leaks might look small but can hide bigger problems. A professional can find the root cause and fix it safely and correctly.
Persistent Leaks
Leaks that do not stop after tightening or simple fixes need expert help. A professional can check if the fittings are worn out or if there is a crack. Persistent leaks can cause water damage or rust inside the RV.
Complex Plumbing Issues
Water heaters connect to many pipes and valves. Complex problems like broken pipes or damaged seals require special tools and skills. A professional plumber knows how to handle these issues without causing more damage.
Warranty And Safety Concerns
Many RV water heaters come with warranties that can void if you try to fix them yourself. Experts follow safety rules and protect your warranty. They also ensure the repair will not cause leaks or electrical hazards later.
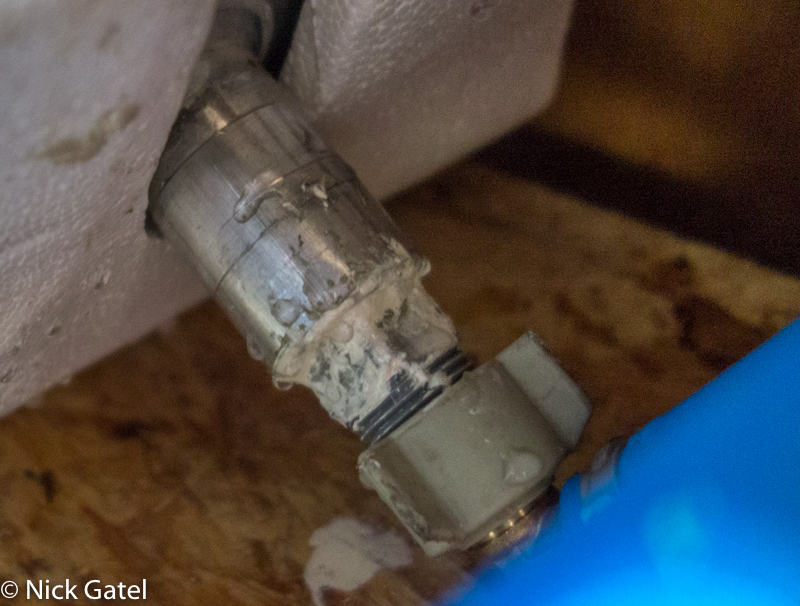
Credit: popupbackpacker.com

Credit: welcometogouda.com
Frequently Asked Questions
What Causes Rv Water Heater Fittings To Leak?
Leaks often result from loose connections, worn-out seals, or corrosion. High water pressure and vibrations can worsen leaks. Regular inspection helps identify these issues early and prevents damage.
How Can I Fix Leaking Water Heater Fittings In My Rv?
First, turn off the water supply and drain the heater. Tighten loose fittings or replace damaged seals. Use plumber’s tape on threaded connections to ensure a tight seal.
Can Leaking Water Heater Fittings Damage My Rv?
Yes, leaks can cause water damage to cabinets and floors. Prolonged leaks may lead to mold growth and costly repairs. Fix leaks promptly to protect your RV’s interior.
How Often Should I Inspect Rv Water Heater Fittings?
Inspect fittings at least twice a year or before long trips. Regular checks help catch leaks early, preventing bigger problems. Maintenance extends the lifespan of your water heater.
Conclusion
Leaking RV water heater fittings cause water waste and damage. Fixing leaks soon saves money and stops bigger problems. Check fittings regularly for cracks or loose parts. Tighten or replace parts to keep your water heater working well. Small leaks can turn into big troubles fast.
Keep your RV comfortable and dry by acting quickly. Proper care helps your water heater last longer. Stay safe and enjoy your travels without water issues.