If you’ve ever faced cold water in your RV shower, you know how frustrating it can be. Knowing the exact location of your RV electric water heater element can save you time and hassle when it’s time to fix or replace it.
You’ll discover where to find this crucial part quickly and easily. By the end, you’ll feel confident tackling the problem yourself and getting your hot water back fast. Keep reading to learn the simple steps that make all the difference.
Rv Water Heater Basics
The heating element is a key part of an RV water heater. It heats the water inside the tank. This element works by using electricity to create heat. When the element gets hot, it warms the water around it. The water heater then sends hot water to your taps and shower.
Different water heaters use different types of heating elements. Some use a single element, while others have two elements for faster heating. The element is usually located inside the tank, hidden behind a panel. It is important to check the element if your water is not heating well.
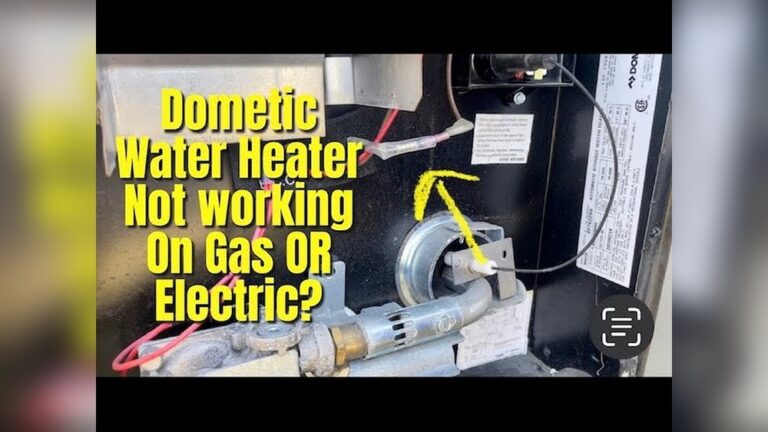
Credit: www.dangerfieldsofshakopee.com
Locating The Heating Element
The heating element in most RV water heaters is inside a small tank. You usually find it behind a panel or cover. This panel is often on the outside or inside of the RV. It lets you reach the element without taking apart the whole heater.
Common spots include under the RV, near the water heater unit, or inside a storage compartment. The panel is usually held by screws or clips. Removing it gives access to the element for checking or replacement.
Look for a rectangular or square access panel. Some models have a metal or plastic cover. This design helps protect the element and keep it safe from dirt and water.
Tools Needed For Access
To access the RV electric water heater element, gather these basic tools. A screwdriver is needed to remove panels. A wrench helps loosen nuts and bolts. A multimeter checks electrical connections safely. Use a flashlight for better visibility in tight spaces.
Safety is key. Wear gloves to protect your hands. Use safety glasses to shield your eyes. Make sure the power is off before starting work. Keep a fire extinguisher nearby for emergencies.
Steps To Find The Element
First, turn off the power to the RV water heater. Safety is very important. Next, drain the water from the tank to avoid spills. Find a clear and dry spot to work on.
Look for the access panel on the outside of the water heater. Use a screwdriver to remove the screws and take off the panel. Keep the screws safe so you can put the panel back later.
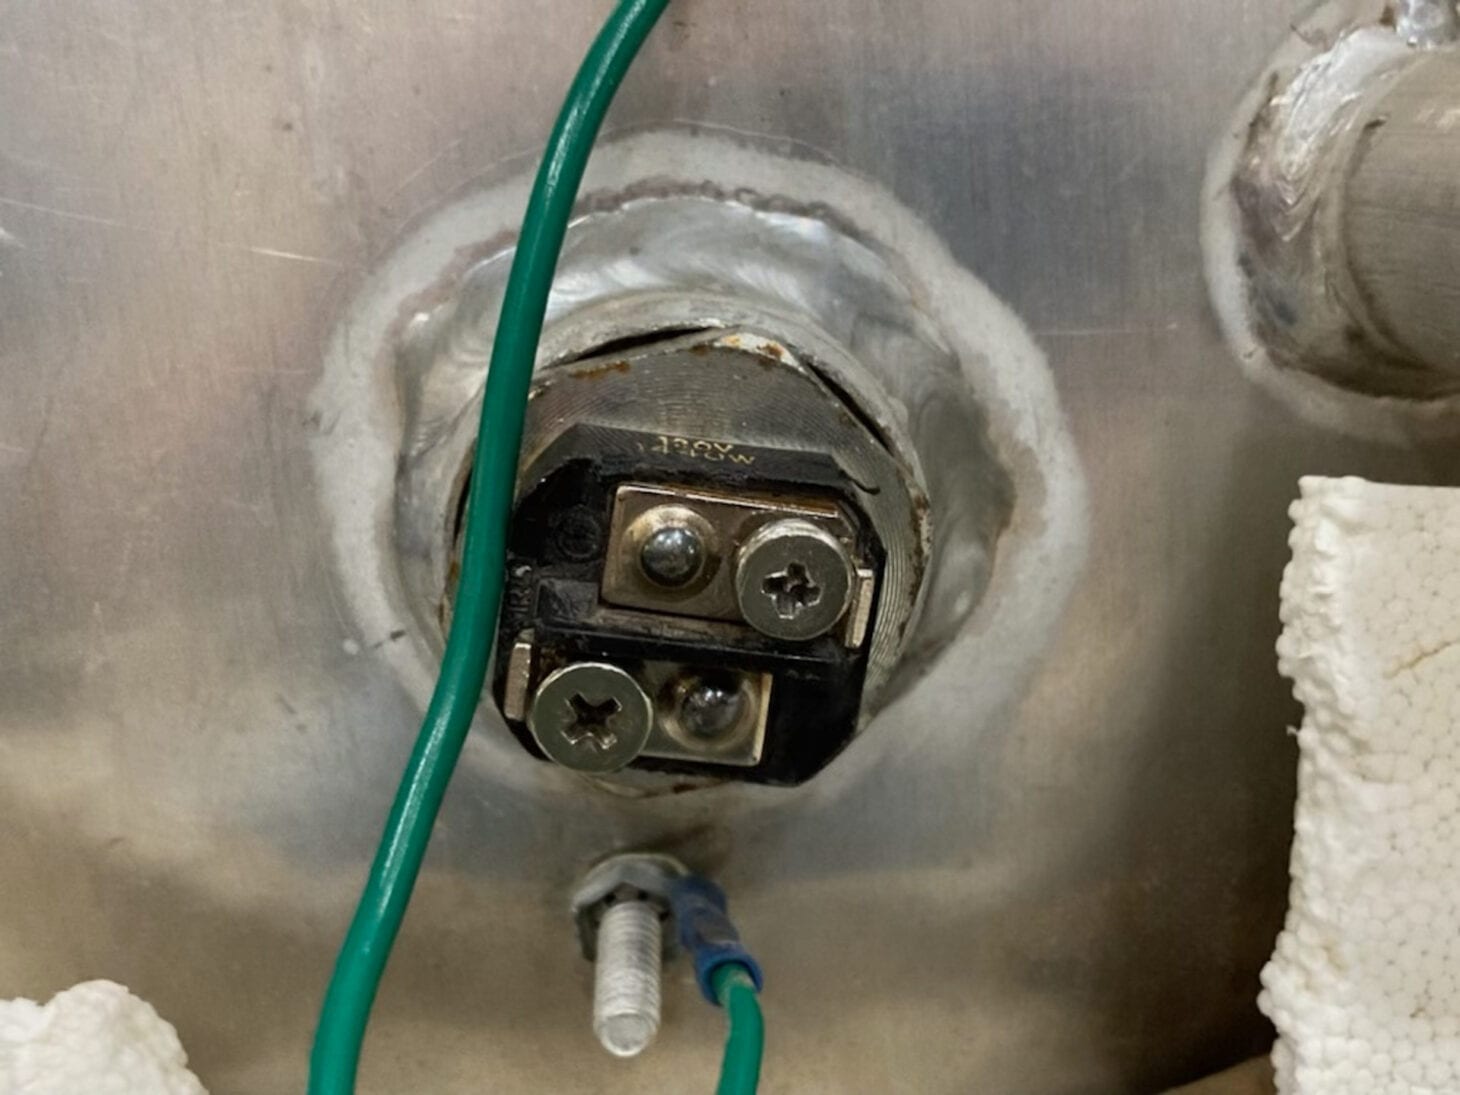
Inside, you will see the electric heating element. It looks like a metal rod or coil. Sometimes it is covered with a plastic or metal shield. The element may be attached with screws or bolts. Check for wires connected to it. Remember to disconnect the wires carefully before removing the element.
Troubleshooting Element Issues
Signs of a faulty element include water that never gets hot enough or takes too long to heat. You might notice strange noises coming from the heater or a burning smell. Another sign is if the water heater trips the circuit breaker often. Sometimes, the water may have a strange color or smell, hinting at an issue inside. These signs mean the heating element could be broken or worn out.
Testing the element is simple and helps find the problem fast. First, turn off power to the water heater. Remove the access panel and check the element for visible damage. Use a multimeter set to test resistance. Touch the probes to the element terminals. A good element will show a reading between 10 and 30 ohms. If the meter shows no reading or very high resistance, the element is bad and needs replacing.

Credit: banemah.com
Replacing The Heating Element
First, turn off the power to the water heater. This stops any accidents. Next, drain the water tank to avoid spills. Use a wrench to unscrew the old heating element. Pull it out carefully. Watch for any water left inside.
Take the new heating element and check it matches the old one. Insert it into the slot where the old element was. Tighten it firmly with a wrench to stop leaks.
Apply a sealant around the new element to keep water inside. Turn on the water supply and fill the tank. Switch the power back on. Check for leaks and listen for any strange noises. If all is clear, the heater is ready to use.
Maintenance Tips
Check the water heater element regularly for signs of wear. Look for corrosion or burn marks around the element. These can cause poor heating or failure.
Turn off the power and water supply before inspecting. Remove the access panel carefully. Use a multimeter to test the element’s continuity. No continuity means the element needs replacement.
Keep the water heater tank free of sediment. Sediment buildup can damage the element quickly. Flush the tank every few months to avoid this problem.
Avoid using harsh cleaning chemicals near the element. These can cause damage to the metal parts. Use only recommended cleaners for RV water heaters.

Credit: www.youtube.com
Conclusion
Finding the RV electric water heater element is not hard. It usually sits behind a panel near the water heater. Knowing its location helps with easy repairs and checks. Regular inspection can keep your heater working well. Simple steps save time and avoid big problems.
Keep your RV water heater in good shape for a comfortable trip. Now you have the basics to find and care for the element.