Is your water heater’s pressure relief valve acting up? Ignoring it could lead to leaks, water damage, or even a dangerous buildup of pressure.
But don’t worry—you don’t need to be an expert plumber to fix it. In this guide, you’ll learn exactly how to replace your pressure relief valve quickly and safely. By following these simple steps, you’ll protect your home and ensure your water heater runs smoothly.
Keep reading, and you’ll have the confidence to handle this important repair yourself.

Credit: www.tawanienterprises.com
Signs Of A Faulty Valve
The pressure relief valve is a key safety part of your water heater. It stops too much pressure from building inside the tank. A faulty valve can cause leaks, water damage, or even a burst tank. Spotting signs of a bad valve early can save you from big problems. Here are common signs to watch for.
Leaking Water
Water leaking from the valve or pipe is a clear sign. Even small drips mean the valve may not seal correctly. This leak shows the valve might be stuck open or worn out. Check the area around the valve for wet spots or puddles. A leak needs quick attention to avoid water damage.
Frequent Discharges
The valve should only release water if pressure gets too high. If water flows out often, the valve could be faulty. This frequent discharge wastes water and signals pressure issues. It might mean the valve is stuck or the water heater pressure is too high. Frequent discharges should not be ignored.
Corrosion And Damage
Rust, cracks, or other damage on the valve show it is aging or failing. Corrosion can stop the valve from working properly. Check the valve for visible signs of wear or rust. Damaged valves are unsafe and must be replaced to keep your water heater safe.
Tools And Materials Needed
Replacing a pressure relief valve on your water heater needs the right tools and materials. Having these ready makes the job easier and safer. Prepare everything before you start to avoid interruptions or mistakes.
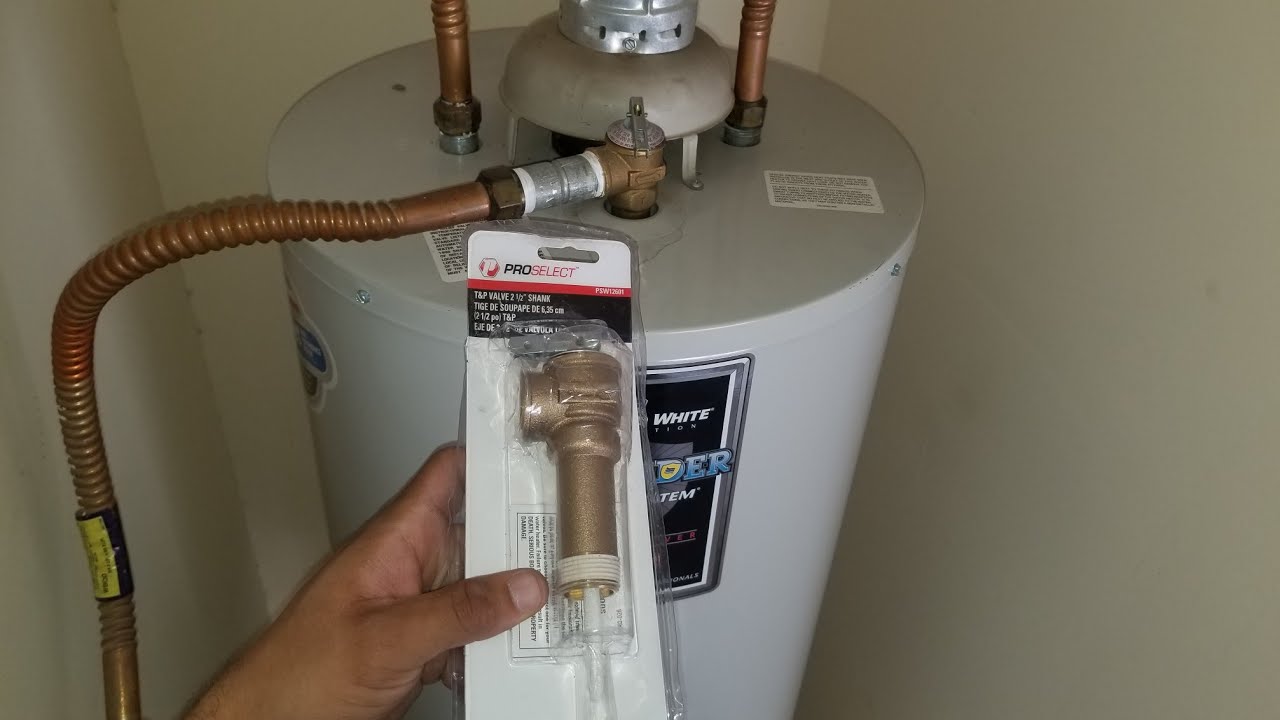
Replacement Valve
Choose the correct pressure relief valve for your water heater model. Check the size and pressure rating on the old valve. Use a valve that matches to ensure safety and proper function.
Wrenches And Screwdrivers
Use an adjustable wrench or pipe wrench to remove and install the valve. A screwdriver may be needed to open panels or covers on the heater. Keep both handy for a smooth process.
Teflon Tape And Bucket
Wrap Teflon tape around the valve threads to prevent leaks. Use a bucket to catch water that drains during the replacement. These small items help avoid mess and ensure a tight seal.
Preparing The Water Heater
Preparing the water heater is an important first step before replacing the pressure relief valve. This preparation helps avoid accidents and ensures the process goes smoothly. Taking time to get ready can save effort and prevent damage.
Turning Off Power And Water
Start by cutting off the power to the water heater. For electric heaters, switch off the breaker. For gas models, turn the gas control valve to “off.” Next, shut off the water supply to stop new water from entering the tank. This step prevents leaks and spills during the repair.
Draining The Tank
Drain the water from the tank to reduce pressure. Attach a garden hose to the drain valve. Open the valve and let the water flow out. Be careful, as the water may be hot. Draining makes it easier to remove the old valve and install the new one.
Ensuring Safety Precautions
Wear gloves and safety glasses to protect yourself. Keep the area dry to avoid slips. Double-check that power and water are off before starting work. Follow these safety steps to prevent injuries and damage.

Credit: www.agriturismo-laquercia.com
Removing The Old Valve
Removing the old pressure relief valve is a key step before installing a new one. It ensures the water heater works safely and efficiently. This process requires care to avoid leaks or damage. Follow the steps carefully for a smooth removal.
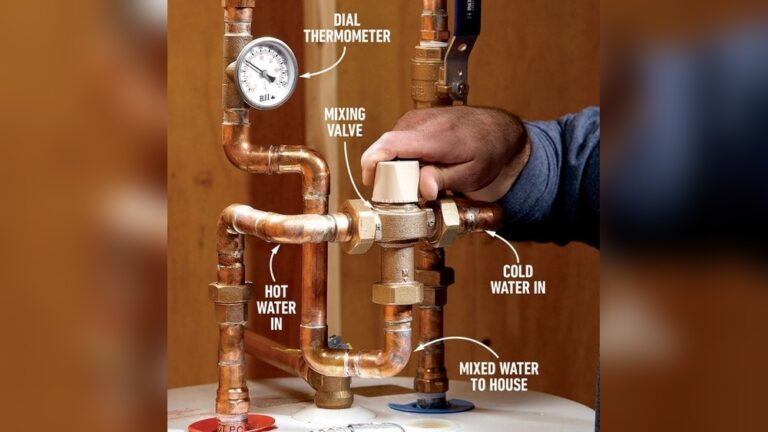
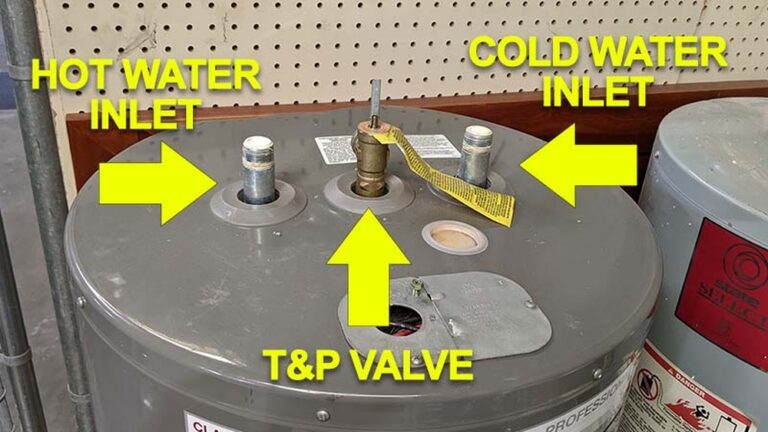
Locating The Valve
The pressure relief valve usually sits on the top or side of the water heater tank. It looks like a small, round device with a lever. Check near the pipes connected to the heater. Clear any dust or debris for easy access.
Loosening And Unscrewing
Use a wrench to loosen the valve carefully. Turn it counterclockwise to unscrew. Hold the valve firmly to avoid breaking it. Stop if it feels stuck. Apply a little oil to loosen rust or buildup. Remove the valve slowly to prevent damage.
Handling Residual Water
Water may spill out once the valve is removed. Place a bucket or towel underneath to catch it. Open a hot water tap nearby to release pressure. This step helps reduce water flow. Be ready to wipe spills quickly to keep the area dry.
Installing The New Valve
Installing the new pressure relief valve is a key step to keep your water heater safe. This process needs care to make sure the valve works well and stops leaks. Follow these steps carefully to get the valve in place and secure.
Applying Teflon Tape
Wrap Teflon tape around the valve threads. This helps create a tight seal. Wrap the tape clockwise to match the thread direction. Cover the threads with two to three layers. Avoid overlapping too much tape. This prevents leaks and keeps the valve secure.
Screwing In The Valve
Start screwing the valve into the water heater’s port by hand. Turn it clockwise until tight. Use a wrench to finish tightening. Do not over-tighten as it can damage the valve or pipe. The valve should feel snug and secure without force.
Testing For Leaks
Turn the water heater back on. Let the tank fill with water. Check around the valve for any dripping or moisture. Use a dry cloth to spot wet areas quickly. If you see leaks, tighten the valve slightly more. The valve must be leak-free to work safely.
Credit: www.youtube.com
Restarting The Water Heater
Restarting the water heater is the final step after replacing the pressure relief valve. It brings the system back to normal. Proper restarting ensures safety and efficiency. Follow these simple steps carefully to avoid damage or injury.
Refilling The Tank
Close the drain valve tightly. Open the cold water supply valve slowly. Watch the tank fill with water. Wait until water flows steadily from a hot water faucet. This means the tank is full and ready. Never turn on the heater with an empty tank.
Restoring Power
Switch on the power supply to the water heater. For electric heaters, turn on the circuit breaker. For gas heaters, relight the pilot light if needed. Follow the manufacturer’s instructions exactly. Powering the heater restarts the heating process safely.
Monitoring Performance
Check for any leaks around the new valve. Listen for unusual sounds while the heater runs. Feel the hot water faucet to ensure warmth. Monitor the water temperature carefully for a few hours. Quick action avoids bigger problems later.
Maintenance Tips
Proper maintenance of the pressure relief valve on your water heater keeps your home safe. This valve prevents dangerous pressure build-up inside the tank. Regular care helps the valve work well and last longer. Follow these simple tips to maintain your pressure relief valve effectively.
Regular Inspections
Check the valve at least twice a year. Look for signs of leaks or corrosion. Make sure the valve handle moves freely. Any stiffness or damage means it needs attention. Early inspection can prevent bigger problems later.
Cleaning The Valve
Turn off the water heater before cleaning. Lift the valve handle to let some water flow out. This flushes out any debris or sediment. Use a soft cloth to wipe the valve area. Clean valves open and close smoothly, ensuring safety.
When To Replace Again
Replace the valve if it leaks or won’t close properly. Also, change it every 3 to 5 years. Old valves may fail without warning. A new valve keeps your water heater safe and efficient. Don’t wait for signs of failure to act.
Conclusion
Replacing the pressure relief valve keeps your water heater safe. It stops pressure build-up that can cause damage. Follow each step carefully to avoid mistakes. Turn off power and water before starting work. Use the right tools and a new valve for best results.
Check for leaks after installing the new valve. Regular maintenance helps your water heater last longer. Taking these simple actions protects your home and family. Safe, easy, and important—your water heater will thank you.