If you’ve ever wondered why your RV’s hot water heater isn’t working as it should, the check valve might be the hidden culprit. Knowing the exact location of this small but important part can save you time, money, and frustration.
You’ll discover where the RV hot water heater check valve is, why it matters, and how understanding it can keep your water flowing smoothly. Keep reading—your next RV adventure depends on it.
Credit: liveworkdream.com
Rv Hot Water Heater Basics
The RV hot water heater warms water for showers and sinks. It uses a small gas burner or electric element to heat the water inside a tank. Cold water enters the tank through a pipe.
Inside, a check valve stops water from flowing backward. This valve is important to keep water moving in one direction only. It helps the heater work safely and well.
Common parts include the water tank, burner, thermostat, and check valve. The thermostat controls the water temperature. The burner heats the water when needed. The check valve keeps the water flow correct.
Purpose Of The Check Valve
The check valve in an RV hot water heater stops water from flowing backward. This keeps the water heater working well and safe. Without it, hot water might flow into the cold water line. This can cause damage or make the heater less efficient.
Signs of a faulty valve include water leaking or no hot water at all. You might hear strange noises or see water pressure drop. These signs mean the check valve might need fixing or replacing soon.
Locating The Check Valve
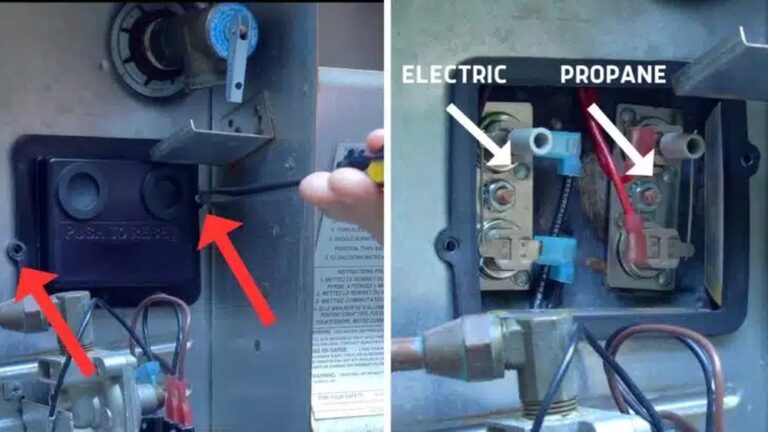
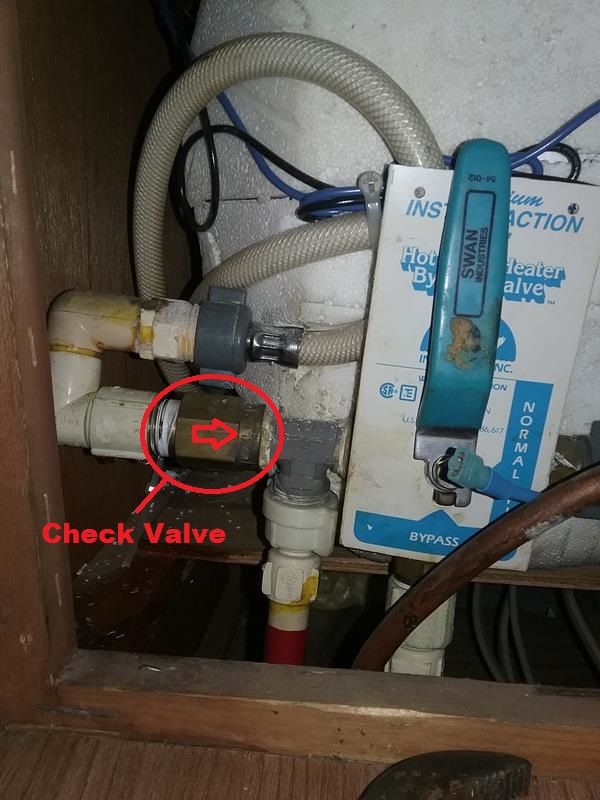
The check valve in an RV hot water heater stops water from flowing backward. It is usually found near the water heater tank. Common places include the cold water inlet pipe and sometimes close to the water pump.
Check valves are small and round or cylindrical. They often have an arrow showing water flow direction. The valve may be inside a plastic or metal housing. Look for a fitting with a clear flow arrow or a small cap.
Some RVs have the check valve built into the water heater unit. Others have it as a separate part on the pipe. Check valves can be hidden behind panels or inside cabinets near the water heater.
Using a flashlight helps to spot the valve in dark or tight spaces. Touch pipes to find the valve by feel. The valve may feel different from other pipes because of its shape or fittings.
Tools Needed For Inspection
To inspect the RV hot water heater check valve, gather some essential tools. A wrench helps loosen bolts. A screwdriver is needed to remove covers or panels. A flashlight reveals dark or hidden parts inside the heater area.
Wear gloves to protect your hands from hot surfaces and sharp edges. Safety glasses guard your eyes from dust or debris. Before starting, turn off the water heater and disconnect power or gas supply. This step is very important for your safety.
| Tool | Purpose |
|---|---|
| Wrench | Loosen or tighten bolts |
| Screwdriver | Remove covers or panels |
| Flashlight | See inside dark areas |
| Gloves | Protect hands from heat and sharp edges |
| Safety Glasses | Protect eyes from dust and debris |
Step-by-step Check Valve Inspection
Start by turning off the water heater and water supply. Let the system cool down to avoid burns. Gathering tools like a wrench and flashlight helps a lot. Wear gloves for safety.
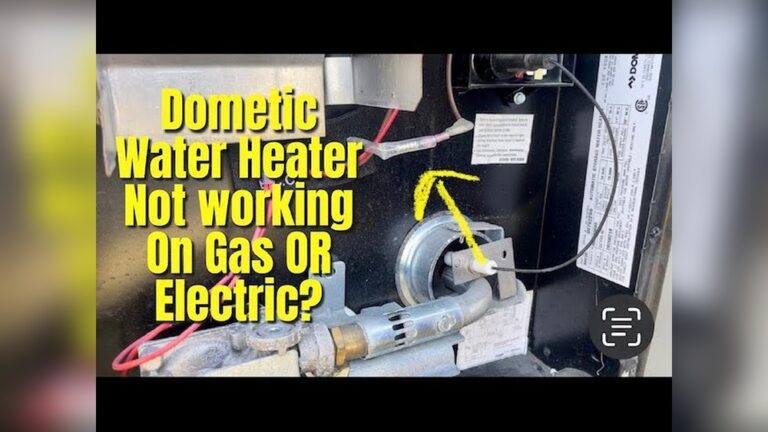
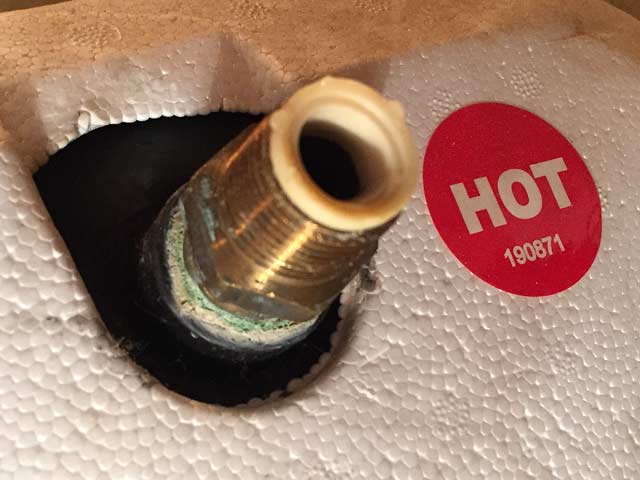
Find the check valve near the hot water heater’s outlet pipe. It is often close to the heater or where pipes connect. Use a flashlight to see clearly in tight spaces. Remove any covers or insulation carefully.
Check if water flows only one way through the valve. Open a faucet to release pressure. Try pushing water backward gently; it should not flow back. If water moves backward, the valve might be faulty. Replace it if needed to keep water flowing correctly.
Credit: www.1999southwind.com
Common Issues And Fixes
Leaks in the check valve cause water to flow backward. This stops the heater from working well. Blockages make water flow slow or stop. Dirt or debris often cause blockages. Check for cracks or worn parts to find leaks. Tighten loose fittings to stop small leaks.
Replacing the check valve is simple. Turn off the water and power first. Remove the old valve carefully. Match the new valve size with the old one. Install the new valve in the right direction. Test the system to see if water flows well. Fix any leaks by tightening connections again.
Maintenance Tips
Check the RV hot water heater check valve regularly. Look for any signs of wear or leaks. The valve stops water from flowing backward. This keeps the heater working well.
Clean the valve every few months. Dirt can cause it to stick or fail. Use a soft cloth and mild cleaner. Avoid harsh chemicals that might damage parts.
Prevent problems by testing the valve. Turn on the water heater and watch for leaks. Listen for unusual sounds. Replace the valve if it acts strange or leaks.
Use the right parts for your RV model. Wrong parts can cause damage or poor performance. Keep the heater and valve dry when the RV is stored. Moisture can cause rust and block the valve.

Credit: www.youtube.com
Conclusion
Knowing the location of your RV hot water heater check valve saves time and effort. This valve stops water from flowing backward, protecting your heater. Regularly checking it helps avoid leaks and damage. Finding the valve is easy once you know where to look.
Keep your RV water heater working well with simple maintenance. Small steps can prevent big problems on the road. Stay comfortable with hot water anytime you need it.