Is your RV water heater gas valve leaking? This small problem can quickly turn into a big headache if you don’t fix it right away.
You rely on your RV for comfort and convenience, especially when it comes to hot water. A leaking gas valve not only wastes fuel but can also be dangerous. You’ll discover simple ways to spot the leak, understand why it happens, and learn how to fix it safely.
Keep reading to protect your RV and enjoy worry-free travels.

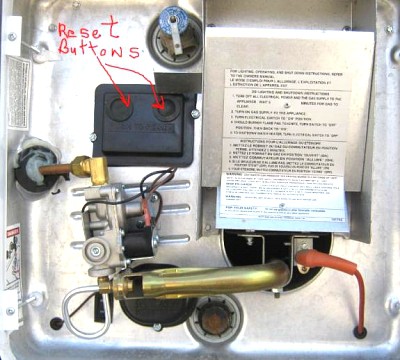
Credit: tetra4ss.com
Signs Of A Leaking Gas Valve
Detecting a leaking gas valve in your RV water heater is crucial. Early signs can help you avoid serious problems. Knowing what to watch for keeps you safe and saves money. Here are the key signs that point to a leaking gas valve.
Common Leak Indicators
Look for a strong smell of gas near the heater. This odor is often the first sign. Listen for a hissing sound, which means gas may be escaping. Notice if the flame burns unevenly or changes color. A yellow or orange flame instead of blue can signal a leak. Check for soot or black marks around the valve. These marks often appear due to gas burning improperly.
Safety Concerns
A leaking gas valve poses a serious safety risk. Gas leaks can lead to fires or explosions. Breathing in leaking gas causes headaches and dizziness. Carbon monoxide poisoning is also a danger. Always turn off the gas supply if you suspect a leak. Seek professional help immediately to fix the problem safely.

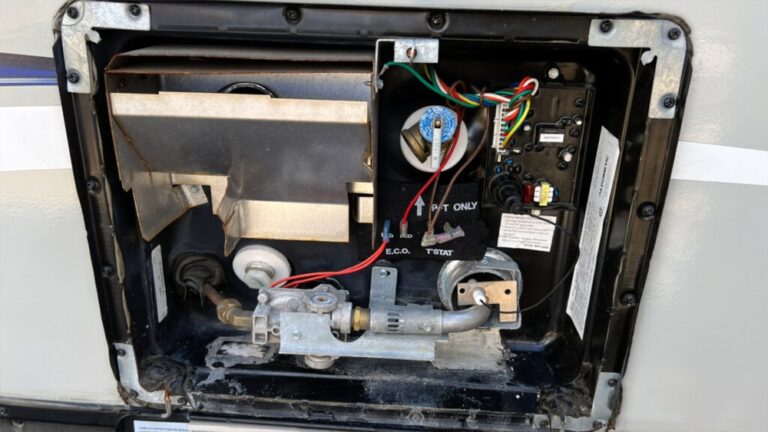
Credit: forum.nachi.org
Causes Of Gas Valve Leaks
Gas valve leaks in RV water heaters cause safety risks and reduce efficiency. Understanding what causes these leaks helps in fixing the problem fast. The gas valve controls the flow of gas to the heater. When it leaks, gas can escape, creating danger and waste.
Several factors lead to gas valve leaks. These include worn parts, rust, and loose fittings. Each cause affects how well the valve works and how safe it is.
Worn Out Seals
Seals keep gas inside the valve. Over time, seals wear out and crack. Old seals lose their tight fit. This allows gas to leak through small gaps. Heat and use make seals break down faster.
Corroded Components
Metal parts of the valve can rust. Corrosion happens from moisture and age. Rust weakens the metal and creates holes. These holes let gas escape. Corroded parts need cleaning or replacement to stop leaks.
Loose Connections
Gas valves connect to pipes and hoses. These connections must be tight. Vibrations from driving can loosen fittings. Loose connections cause gas to leak at joints. Checking and tightening these connections prevents leaks.
Tools And Materials Needed
Fixing a leaking gas valve on your RV water heater requires specific tools and materials. Having the right items ready saves time and keeps the repair smooth. This section lists the must-have tools and safety gear for the job.
Basic Repair Kit
Start with a basic repair kit made for gas appliances. This kit should include wrenches, screwdrivers, and pliers. A pipe wrench helps loosen tight fittings. Thread seal tape prevents gas leaks at connections. Keep replacement gas valves or parts nearby in case needed. A small flashlight can help see inside dark spaces. Have a bucket or cloth ready to catch water drips during repair.
Safety Gear
Safety is crucial when handling gas valves. Wear safety goggles to protect your eyes from debris and gas. Use gloves to avoid burns or cuts while working. A gas detector warns about leaks during repair. Work in a well-ventilated area to avoid gas buildup. Keep a fire extinguisher close for emergencies. Proper safety gear prevents accidents and ensures a safer repair process.
Step-by-step Leak Repair
Fixing a leaking gas valve on an RV water heater is important for safety. This guide shows simple steps to stop the leak. Follow each step carefully to avoid mistakes. Keep tools ready and work in a well-ventilated area.
Shutting Off Gas Supply
First, turn off the gas supply to the water heater. Locate the main gas valve and close it fully. This step stops gas flow and prevents accidents. Check that no gas smell is present before continuing.
Removing The Valve
Next, remove the leaking gas valve carefully. Use a wrench to loosen the valve nuts. Turn slowly to avoid damage. Keep track of any washers or small parts during removal.
Inspecting And Replacing Seals
Look closely at the valve seals for cracks or wear. Old seals often cause leaks. Replace damaged seals with new ones of the same size. Make sure seals fit tightly to stop gas escape.
Reassembling And Testing
Put the valve back in place and tighten nuts securely. Open the gas supply slowly and check for leaks. Use soapy water on joints to spot bubbles. If no bubbles appear, the repair is done.
Preventing Future Leaks
Preventing future leaks in your RV water heater gas valve is important for safety and comfort. Small leaks can cause bigger problems later. Taking steps to avoid leaks saves time and money. Careful attention keeps your RV water heater working well for many trips.
Regular Maintenance Tips
Check the gas valve regularly for signs of wear or damage. Tighten connections to stop any small leaks early. Clean the valve to remove dirt and buildup. Replace worn parts before leaks start. Test the water heater often to make sure it runs safely. Use a soap solution to find hidden gas leaks. Keep a maintenance schedule and follow it strictly.
Proper Storage Practices
Store your RV in a dry place to avoid moisture damage. Drain the water heater completely before long storage. Cover the unit to protect it from dust and dirt. Avoid freezing temperatures that can crack valves and pipes. Inspect the gas valve before each trip after storage. Proper storage reduces rust and corrosion risks. These steps keep the valve in good shape for years.

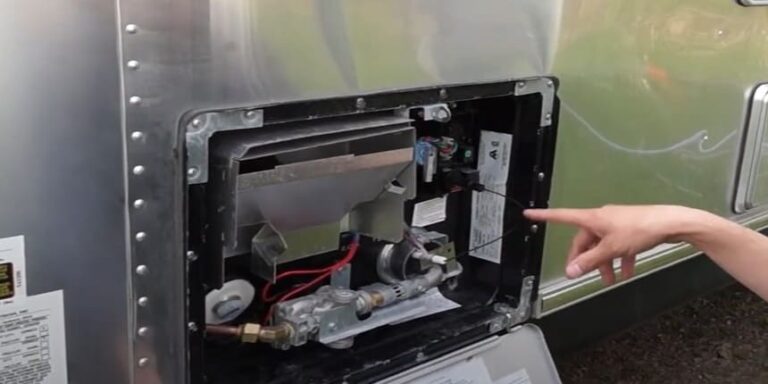
Credit: www.youtube.com
When To Call A Professional
Knowing when to call a professional for a leaking RV water heater gas valve is important. Small leaks might seem easy to fix. Yet, some problems need expert care. Ignoring these issues can lead to bigger damage or safety risks. Understanding the signs can save time and money.
Complex Leak Issues
Not all leaks are simple. Some valves have hidden cracks or worn parts. These problems require special tools and skills to find and fix. A professional can diagnose the exact cause quickly. They know how to handle gas valves safely and correctly. Trying to repair complex leaks alone can cause more damage.
Safety Risks
Gas leaks can be very dangerous. They might cause fires or explosions. A small smell of gas should not be ignored. Professionals have the training to work with gas systems safely. They use proper equipment to check for leaks. Calling an expert helps protect you and your RV from harm.
Frequently Asked Questions
What Causes An Rv Water Heater Gas Valve To Leak?
Gas valve leaks usually happen due to worn seals, corrosion, or loose connections. Dirt buildup can also cause leaks. Regular maintenance can prevent these issues.
How Can I Fix A Leaking Gas Valve On My Rv Heater?
First, turn off the gas supply. Then, tighten connections or replace faulty seals. If the leak persists, replace the gas valve entirely for safety.
Is A Leaking Gas Valve Dangerous In An Rv Water Heater?
Yes, gas leaks are hazardous. They can cause fire or carbon monoxide poisoning. Immediate repair or replacement of the leaking valve is critical.
Can I Temporarily Stop A Gas Valve Leak In My Rv?
Temporarily, you can tighten connections and use gas-safe sealants. However, these are short-term fixes. Professional repair or replacement is necessary for safety.
Conclusion
A leaking gas valve in your RV water heater needs quick attention. Ignoring leaks can cause safety risks and waste fuel. Regular checks help catch issues early and keep you safe. Fix small leaks before they grow into big problems.
Proper care extends your water heater’s life. Stay alert to sounds or smells of gas. Simple steps can protect your RV and your family. Don’t wait—take action to keep your heater working well and safe.