If you’ve ever struggled with inconsistent hot water in your RV, knowing where your water heater thermostat is located can make all the difference. Finding this small but crucial part can help you fix temperature issues quickly, saving you time and frustration on the road.
In this guide, you’ll discover exactly where to look for your RV water heater thermostat and how understanding its location puts you one step closer to enjoying warm showers anytime, anywhere. Keep reading to unlock simple tips that will make your RV life more comfortable and hassle-free.
Rv Water Heater Basics
RV water heaters come in two main types: gas and electric. Gas heaters use propane to heat water quickly. Electric heaters use power from the RV’s battery or shore power. Some RVs have a combination heater that uses both gas and electric.
The thermostat controls the water temperature. It senses the water’s heat inside the tank. When the water is too cold, the thermostat signals the heater to turn on. Once the water reaches the set temperature, the thermostat tells the heater to stop. This keeps the water at a safe and comfortable level.
Thermostat Location Tips
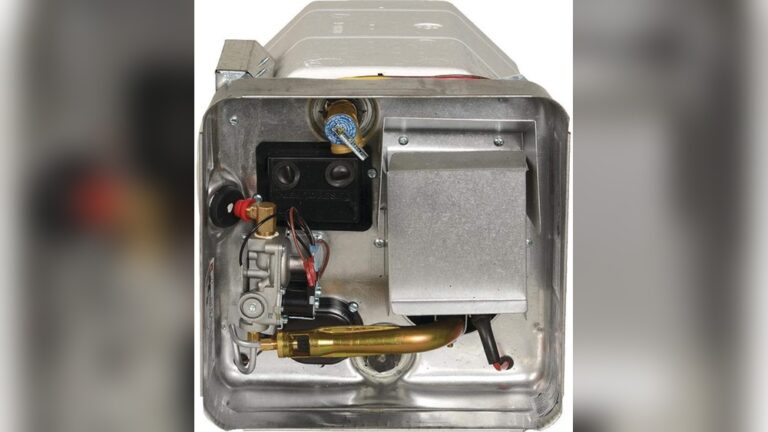
The thermostat in an RV water heater is usually found near the heater panel. Common spots to check include behind the access panel on the side of the water heater. This panel often has screws and is easy to remove with a screwdriver.
Once the panel is removed, the thermostat is visible as a small device attached to the heater’s body. It usually has wires connected to it and a dial or adjustment screw. Be careful not to touch any wires directly to avoid electric shock.
Look around the lower or middle part of the heater. Some RV models have the thermostat inside the main heater box, so access might require removing more panels. Always check your RV manual for exact locations before starting.
Tools Needed For Access
To access the RV water heater thermostat, a few tools are needed. A screwdriver helps remove the heater cover. A multimeter checks the thermostat’s electrical parts. Use needle-nose pliers to handle small wires carefully. A socket wrench removes bolts holding the heater in place. Keep a flashlight nearby for better visibility in tight spaces.
Safety is key. Turn off the RV power before starting any work. Allow the water heater to cool completely. Wear protective gloves to avoid burns or cuts. Avoid touching wires with wet hands. Double-check all tools and equipment before use.

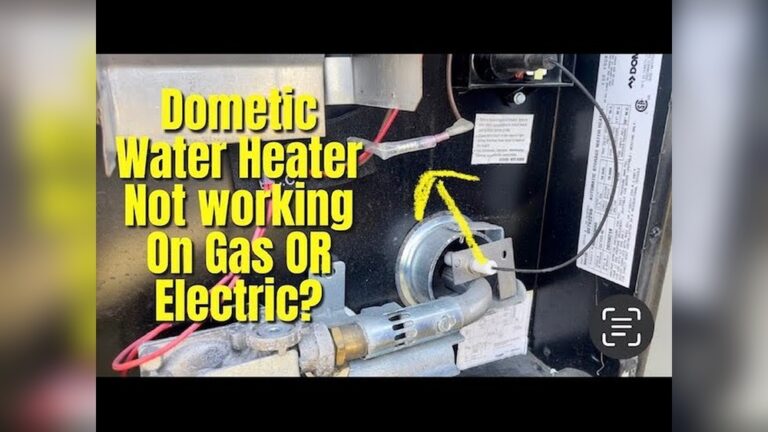
Credit: www.youtube.com
Diagnosing Thermostat Issues
Signs of a faulty thermostat include water that is too hot or cold. The heater may not turn on at all. Sometimes, water temperature changes quickly without warning. Strange noises from the heater can also show thermostat problems. These signs mean the thermostat might not work well.
Testing the thermostat is simple. First, turn off the power to the heater. Remove the thermostat cover carefully. Use a multimeter to check if the thermostat has power and can open or close the circuit. If the reading is off, the thermostat needs replacement. Testing helps find the exact problem.
Fixing Or Replacing The Thermostat
Start by turning off the power and water supply to the heater. Remove the access panel to find the thermostat. Use a multimeter to check if the thermostat works. If it shows no continuity, it needs replacing. Unscrew the thermostat carefully and disconnect the wires. Note the wire positions to reconnect later.
Choose a replacement thermostat that matches the heater model and voltage. Check the temperature range to ensure compatibility. Buy from a trusted supplier to get a quality part. Install the new thermostat by reversing the removal steps. Tighten screws and reconnect wires exactly as before. Turn the power and water back on and test the heater. It should heat water properly now.

Credit: www.youtube.com
Maintaining Your Rv Water Heater
Check the thermostat often to keep the water heater working well. Look for any signs of damage or wear around the thermostat. Make sure the connections are clean and tight. Dirt and rust can cause problems.
Turn off the power before you start any checks. This keeps you safe. Test the thermostat by adjusting the temperature. The water should get warmer or cooler. If not, the thermostat may need replacement.
Prevent issues by flushing the water heater every 3-6 months. This removes sediment that can build up inside. Sediment makes the heater work harder and wear out faster.
Use the right water temperature. Too hot can cause damage to the heater and pipes. Set it around 120°F (49°C) for safety and comfort. This also saves energy.

Credit: www.sdbm.nl
Conclusion
Knowing the RV water heater thermostat location helps with quick repairs. You can avoid cold showers and save time. It also keeps your RV’s water warm and ready. Checking the thermostat regularly prevents bigger problems later. Simple steps keep your water heater working well.
Remember, a little care goes a long way. Stay comfortable on every trip with warm water. Easy to find, easy to fix. That’s the key to happy RV living.